Contents |
Vectorizing the Image
This is, by far, the most time consuming and complicated way of doing a pattern, but it can be the only way to create high-quality versions of some types of patterns.
For the purposes of this tutorial, I will be demonstrating a 4-colour pattern using Illustrator. You can do your patterns in any number of colours from 1 to 4 - 4 is the most complicated.
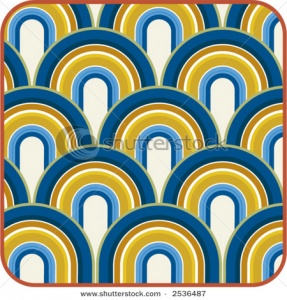
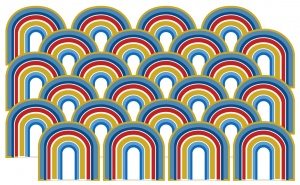
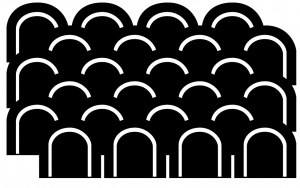
I'll be creating a pattern inspired by this retro arches pattern I found on Shutterstock. As you can see, it's a lot more complicated than just 4 basic colours, but I can simplify it as I work on it.
Step 1 - Import the Image
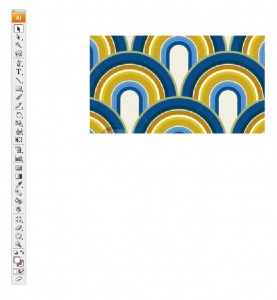
Start by importing the image into your vector program. I only need a small part of it for what I'm doing here, so I haven't bothered to import the whole thing, just enough that I can trace it.
Step 2 - Vectorize
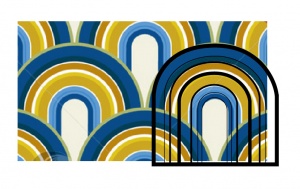
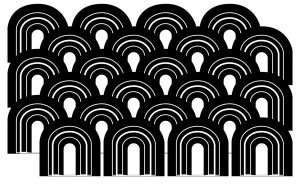
I'm skipping a lot of the fiddly work here, because every pattern is going to be different, and I'm not going to teach you how to do vector drawings all in one tutorial here. You want to basically trace over whatever lines you've got in the image, simplifying where you can (your final texture will only be 256x256 so don't go crazy with tons of detail), and remembering that you will have a max of 4 colour sliders to work with.When you're done, you should have all the basic elements of the pattern roughed out in vector shapes. Don't worry if they're not exact - nobody's going to see your original, only the result. Make sure to group important parts as you go along.
Step 3 - Define Colours
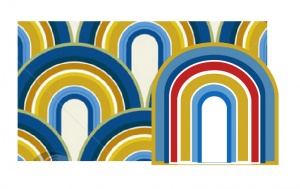
It's about at this point that you should define the colours on your parts. If you're doing a very simple design, you may not have to, but the more complex you get, the easier this will make things down the line.It doesn't matter what colours you use here, just that you use no more than 4 of them and that they're different enough from each other that you can tell at a glance what's what. You can define lighter and darker versions of the same colour, as you can see I've done - I'll explain further on how to handle those light/dark colours.
So for mine, I have white, mustard yellow, red, and blue, with the blue in lighter and darker versions.
Step 4 - Tile
Then set up your pattern for tiling. There are ways to do a tiling pattern directly in a vector program, but I find it easiest to just make a big swatch and crop later for most designs. If you're doing the tile-in-vector method, here's a good tutorial on doing the tiling.
Rasterizing the Image
After you've got it all done in vector, you need to get it into a raster format...
Step 5 - Colour Separate
Now comes the annoying and tedious part - separating each colour into black and white/greyscale images.
A note before we begin - there is a layering effect that happens with the separate colours, so arranging them in the proper order is important. Red is the bottom layer, green above that, blue above that, and alpha on the very top. You can overlap colours.
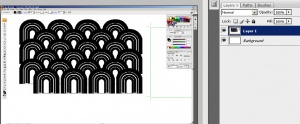
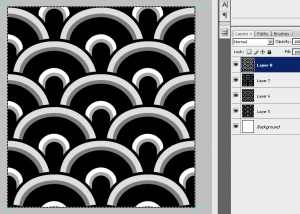
We'll start with the white colour for mine. I'm going to make the white colour, well, white, and all of the rest of my colours black.Then I need to save the result as a raster image. I find it easiest to just take a screenshot using Print Screen and paste each of the resulting images into a new Photoshop document on a new layer. If you do it that way, it's important not to move my zoom level or the scroll bars in Illustrator though, or they won't line up.
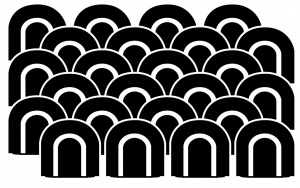
Undo so everything's coloured again, and now make the yellow parts white and everything else black, and again, screenshot and paste as new layer or save as raster.
Undo again to colour, and then repeat for red - red should be white, everything else black. Screenshot and paste as new layer or save as raster.
Finally, the blue layer. Now, you'll notice that for mine, I have -four- separate shades of blue - lightish, medium, darkish, and dark. So for that, I'm going to change everything that isn't blue at all to black... And then I'm going to make the blue parts greyscale - white for the lightest blue, and darker shades (20% black, 30% black, and 30% black) for each of the darker parts.
Screenshot and paste into your document as a new layer, so you should now have 4 layers above the background, each with a different set of colours as white/greyscale.
Step 6 - Finish Image
Take your raster drawing with the four layers, and make it seamless, cropping out edges or whatever you need to do. Make sure to make all your layers seamless in the same way! In Photoshop, Filter - Other - Offset is a great way to see that your image is seamless without having to tile it up yourself.Resize to 256x256. If you're using Photoshop, make sure to change the resize setting to Bilinear or you'll get seams around the edges, which will be visible in-game. It's usually okay if your image is a little bit distorted, if it wasn't perfectly square when tiling - again, nobody will be seeing your original image, just the result, so they wont' know it's distorted.
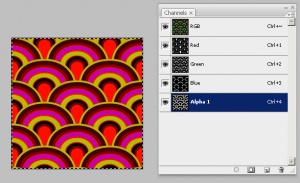
Time to assemble your four parts into channels. Make a new image the size that's 256x256, and bring up the Channels window. If you're doing a 4 colour pattern, add a new channel, alpha1. In Gimp, you'll have to do Colors - Components - Decompose to separate your image into channels.Next, take each layer from your 4-layer tiled document and copy it, and paste the contents into a different channel in the new document. Remember the layering if it's important to your pattern - red on bottom, alpha on top.
If you're using Gimp, it's a little silly - once you've Decomposed to split into channels, you can paste your different images as new layers and then rename them - red, green, blue, or alpha. You can't paste directly into the channels themselves.
When you get them all pasted and look at the RGB channel, it should look, well, pretty weird. You may not be able to see anything on the alpha channel very well. Flip through your channels to make sure you've got it all set up properly.
If you're in Gimp, you'll have to do Colors - Components - Compose to smush it all back together, and it won't look right at all after that - Gimp's a little weird like that.
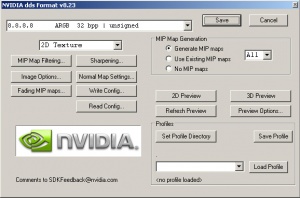
In Gimp, Compression should be set to None, Format set to RGBA8, and tick Generate Mipmaps. If you get an error complaining about volume maps, just ignore it.

 Sign in to Mod The Sims